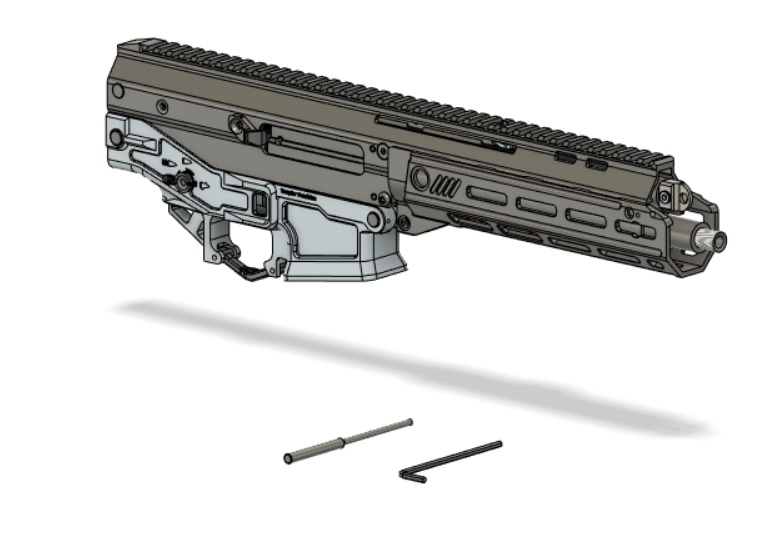
Tools Required Standard 1/8 Allen Key 5/32 Roll pin punch Hammer Soft but firm surface to prevent damage to receiver Updated T-25 Torx Wrench (With upgraded trunnion bolts) 3/32 Allen Key (for secondary locking nut removal on Templar Trunnions)
Step 1 MAKE SURE FIREARM IS UNLOADED
Then get tools ready from list above
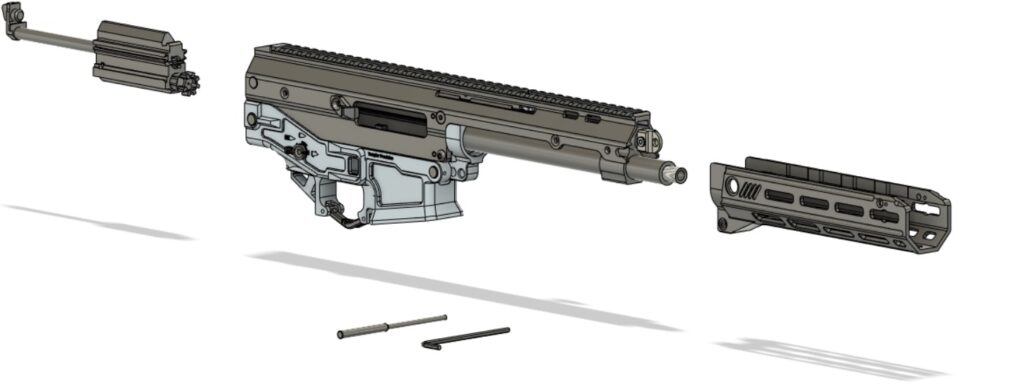
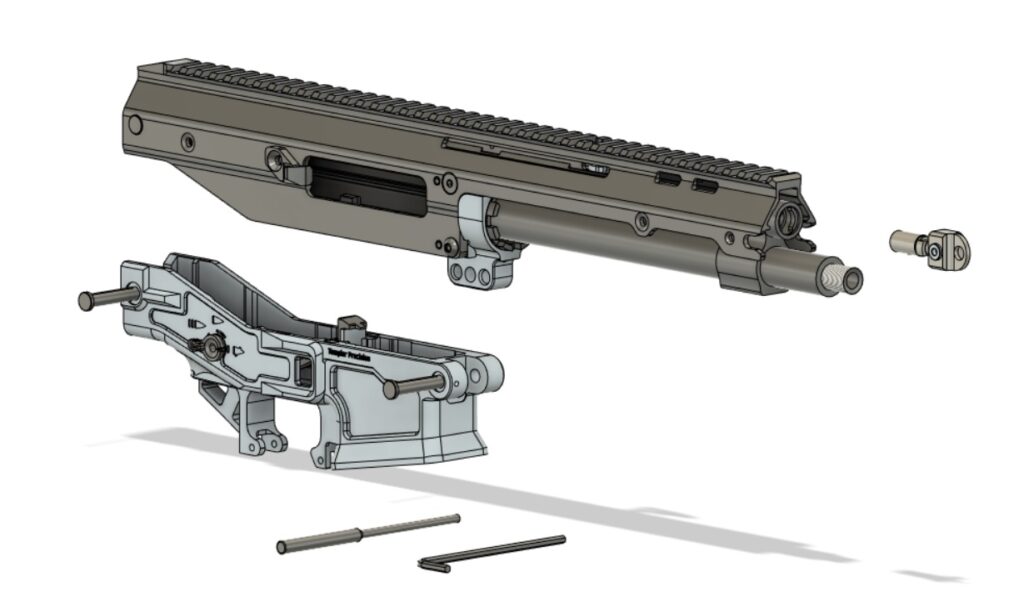
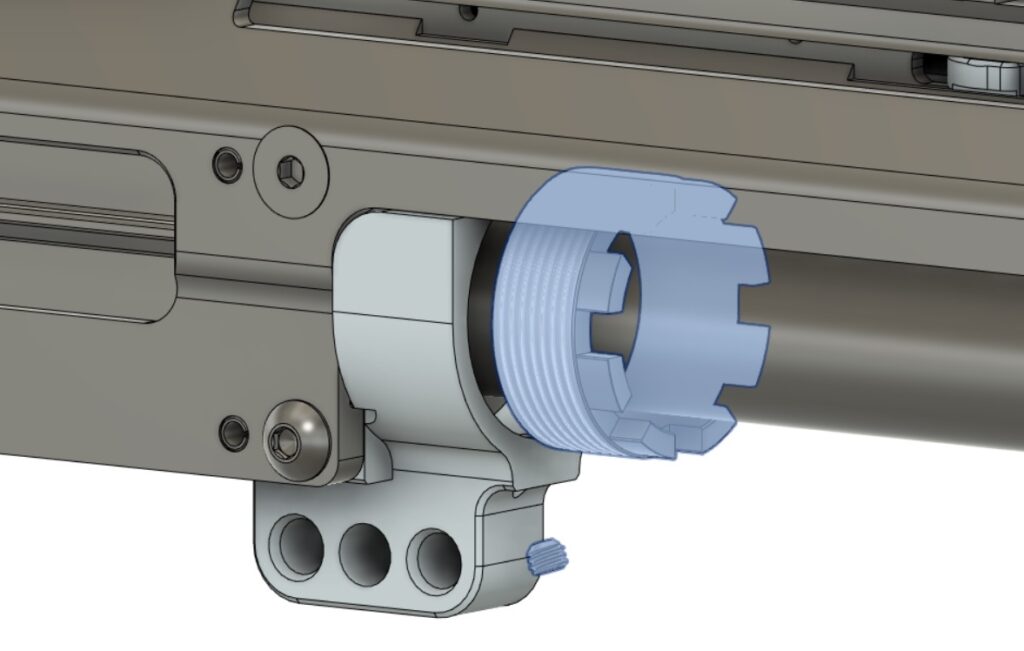
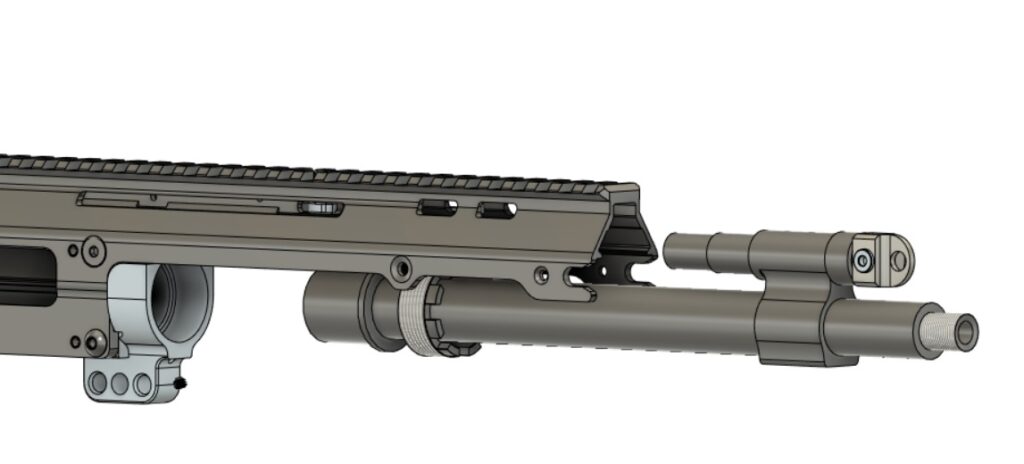
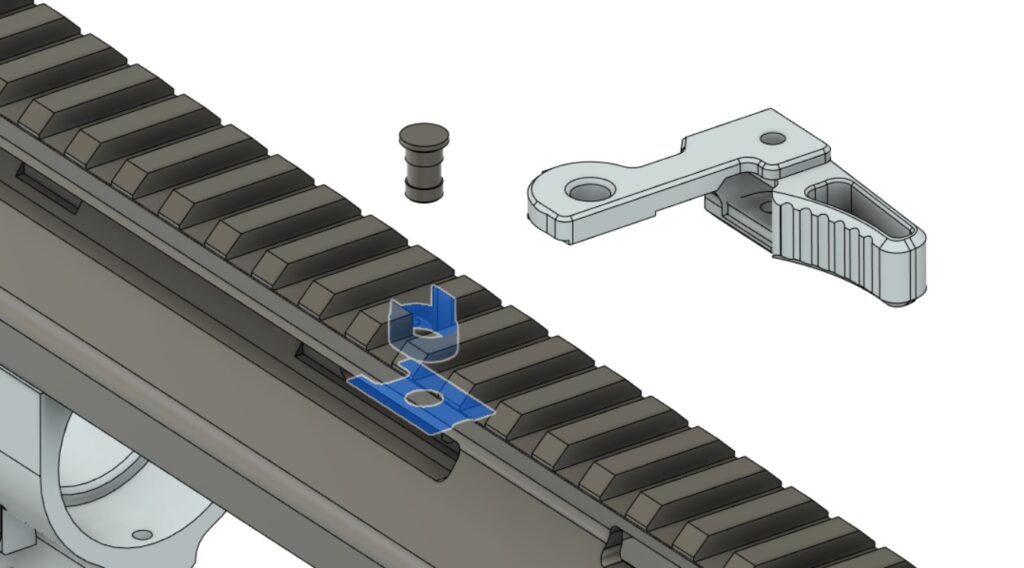
Step 2: Remove Bolt assembly and Handguard assemblyStep 3: Remove lower receiver, Regulator and piston (NON-QD highly recommended, not needed for QD barrel sets)Step 4: Remove Secondary lock ring (Templar Trunnion), Then remove barrel nut. QD only needs to remove lock ring assembly by pressing the handle against the locking latch and twisting.Step 5: Remove barrel assembly.Step 6: Remove charging handle assembly. NEW AMBI Assemblies, pull handle back until removal pin is lined up with hole in the top of the receiver, then push from the bottom of the assembly with a pin punch. The pin will come out of the top of the receiver. Once this is done the charging handle will pull out of it’s respective side (aftermarket) For stock ambi handles a 1/8 roll pin punch is required to remove the roll pin holding the charging handle knob in place. Once the charging handle is removed the assembly will remove from the rear of the rifle, do not lose the spring that goes to the top detent when you remove the assembly.
OLD Single Sided Assemblies (pre-2017), insert small punch or flat head screwdriver into the slot shown above and pull back on the blade lock. (the latch in the center of the assembly) Once it’s pulled back the charging handle will come out of the rifle. The older assemblies remove from the front of the rifle.
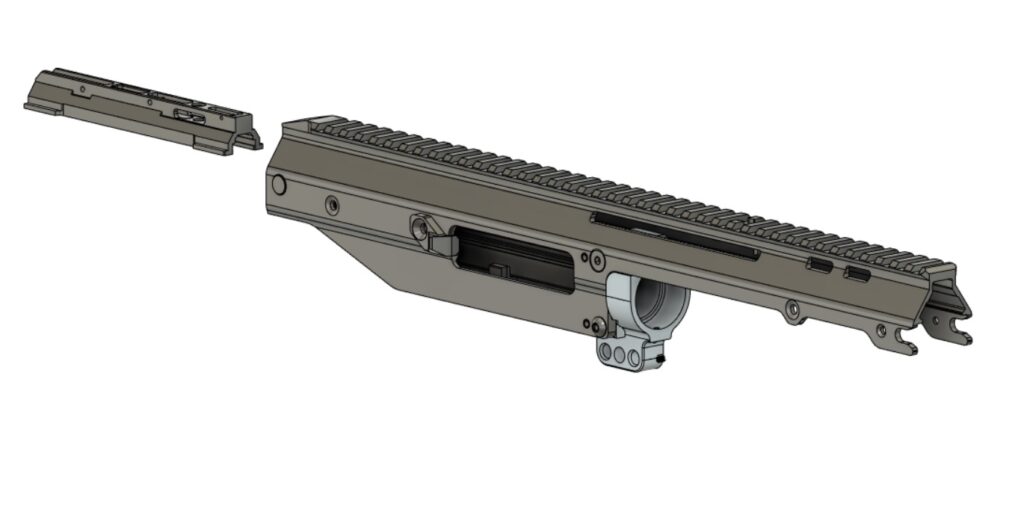
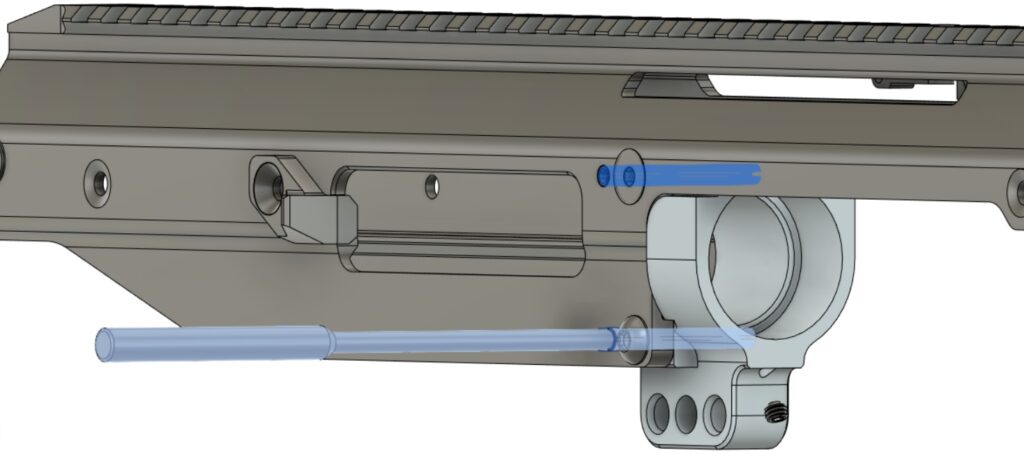
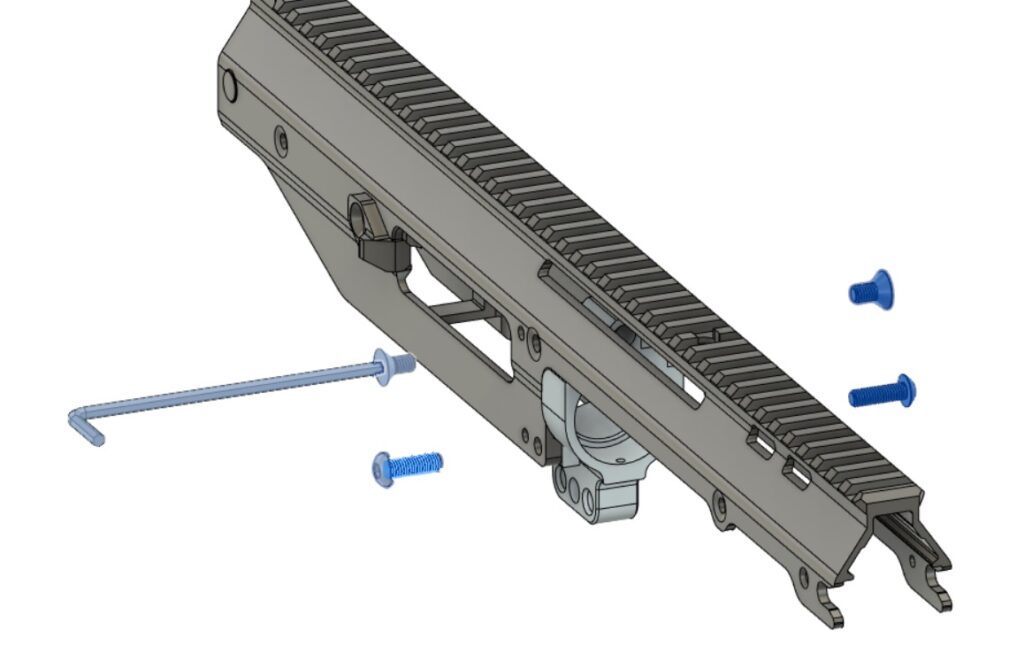
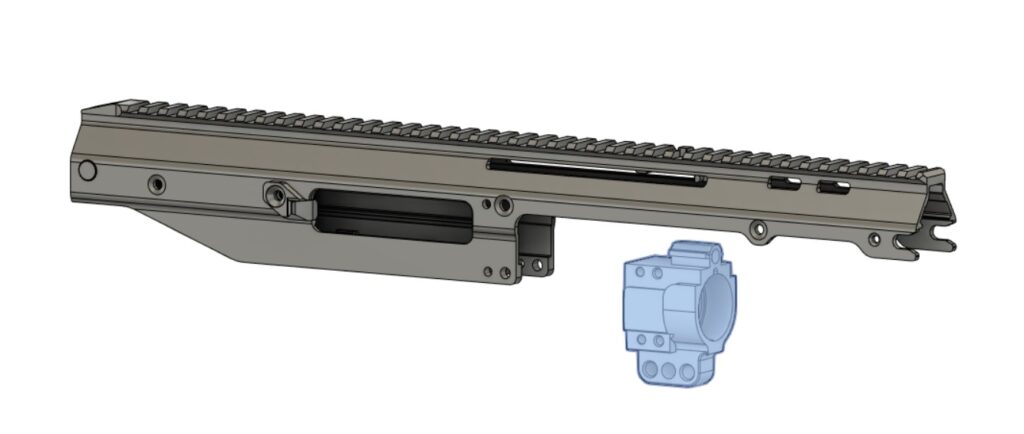
Step 7: Remove the 2 5/32 Roll Pins first!!! Use the 5/32 roll pin punch to remove the 2 roll pins that hold the trunnion in place. They can come out on either side. Be mindful that they take a decent amount of pressure to knock out. This can cause damage to the finish of the rifle if you hold the receiver wrong. Delrin works well to allow the impact without damaging the rifle. You need to remove the Roll Pins first because the screws keep the receiver secure, otherwise the pins will stretch the receiver apart causing damage.Step 8: Remove Trunnion bolts. Use 1/8 Allen Wrench to remove the 4 trunnion bolts. Optional, a Torx-25 is required for upgraded bolt kits.Step 9: Once Bolts are removed, trunnion will slide out of the receiver as shown.
Installation is the reverse as disassembly. Note! Do not overtighten Secondary Barrel Nut. Failure to adhere to this can cause damage to barrel nut threads.